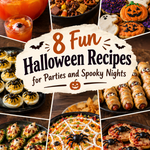
Halloween is the perfect excuse to serve food that looks a little spooky and tastes absolutely delicious! From bubbling Halloween punch and crunchy Chex Mix to creepy-cute cookies, caramel apple dip, and fun party snacks, there are so many easy ways to make your Halloween gathering feel special.
These 8 fun Halloween recipes include sweet treats, savory bites, festive drinks, and crowd-pleasing snacks for everything from a kids’ Halloween party to a family movie night. You don’t need complicated decorations or fancy ingredients, either. A few colorful candies, simple food shapes, and seasonal flavors can turn everyday recipes into something guests will remember.
Quick Summary
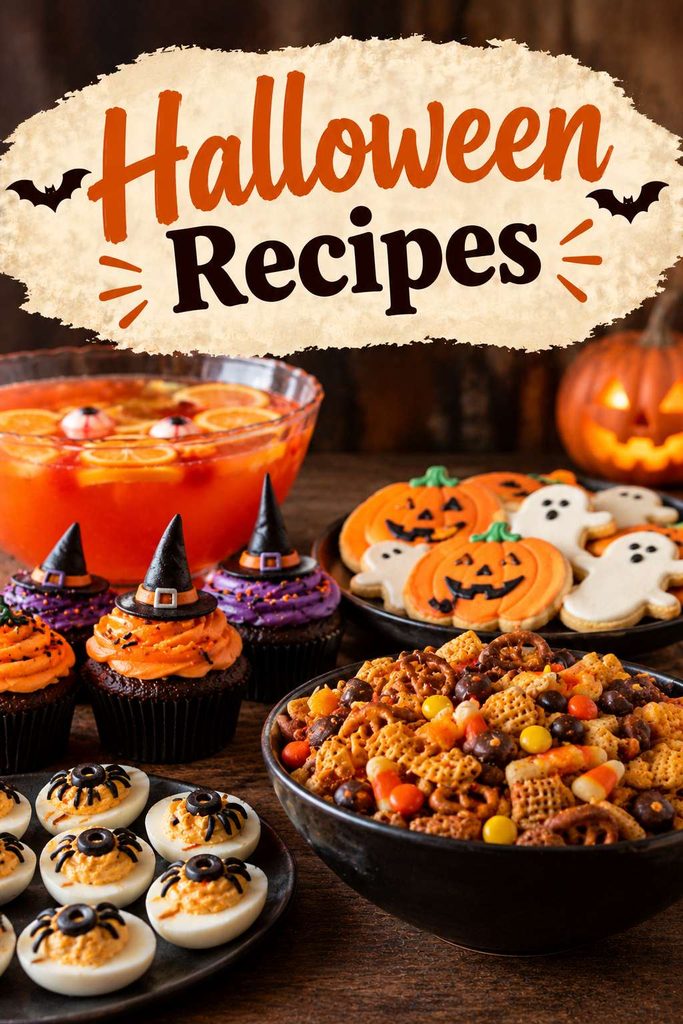
These Halloween party recipes combine easy preparation with festive flavors and spooky presentation. Halloween punch offers a colorful drink for a crowd, while Halloween Chex Mix makes a crunchy snack that guests can grab by the handful. A nonalcoholic Halloween mocktail adds a fun drink option, and graveyard pudding cups bring a playful touch to the dessert table. Caramel apple dip pairs creamy caramel with crisp apples, Halloween cookies make a great baking activity, mummy pizzas provide a savory party bite, and Halloween monster nachos round out the menu with a shareable snack.
- Best party drink: Halloween Punch
- Best crunchy snack: Halloween Chex Mix
- Best spooky drink: Halloween Mocktails
- Best Halloween dessert: Graveyard Pudding Cups
- Best apple treat: Caramel Apple Dip
- Best baking project: Halloween Sugar Cookies
- Best savory finger food: Mummy Pizzas
- Best shareable party snack: Halloween Monster Nachos
1. Halloween Punch Recipes
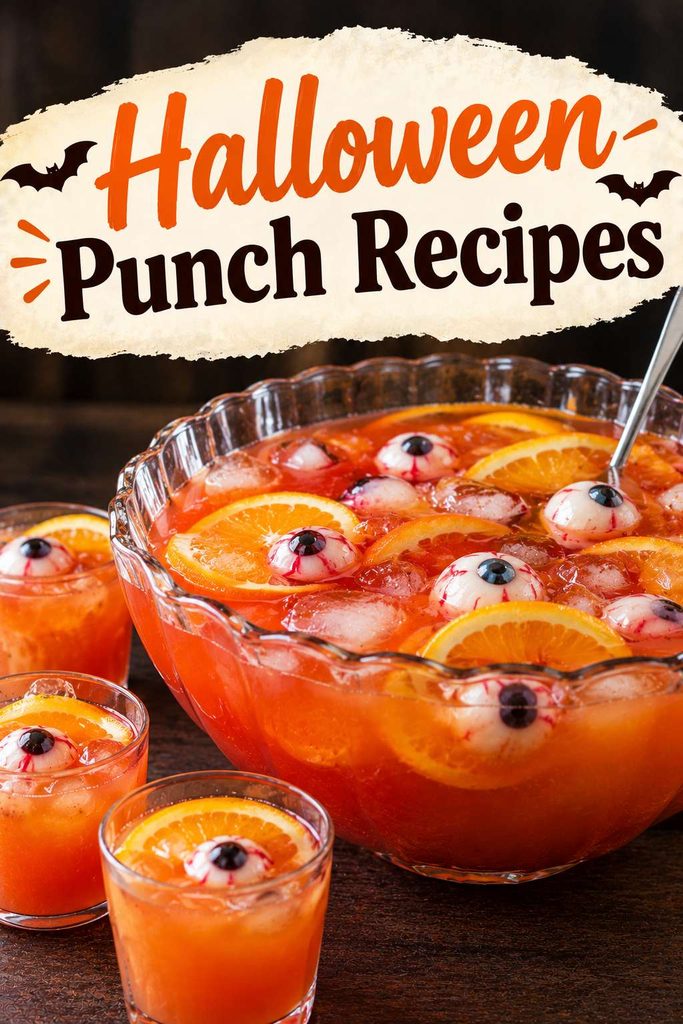
Halloween punch is an easy, colorful drink made with fruit juice, fizzy soda, and festive garnishes. This crowd-friendly version combines orange and cranberry flavors for a bright, spooky drink that works beautifully at Halloween parties. A large glass beverage dispenser makes it easy for guests to serve themselves throughout the party.
The best part is that you can prepare the juice mixture ahead of time and add the sparkling ingredients just before serving. Use a clear punch bowl to show off the vibrant color, or serve individual cups with fun Halloween straws.
Prep time: 10 minutes
Chilling time: 30 minutes
Servings: 10–12
Ingredients
- 4 cups orange juice, chilled
- 4 cups cranberry juice, chilled
- 3 cups lemon-lime soda, chilled
- 2 cups pineapple juice, chilled
- 1 orange, thinly sliced
- 1 cup fresh or frozen cranberries
- Ice cubes, as needed
Instructions
- Chill the ingredients. Refrigerate the juices and soda before preparing the punch. Cold ingredients help keep the drink refreshing without requiring too much ice.
- Mix the juices. Pour the orange juice, cranberry juice, and pineapple juice into a large punch bowl or beverage dispenser. Stir until combined.
- Add the fruit. Add the orange slices and cranberries. They provide natural color and make the punch look festive without much extra work.
- Add the fizz. Pour in the lemon-lime soda just before serving. Stir gently to preserve the bubbles.
- Serve the punch. Add ice to individual glasses or place a small amount in the punch bowl. Ladle the drink into cups and serve cold.
2. Halloween Chex Mix Recipes
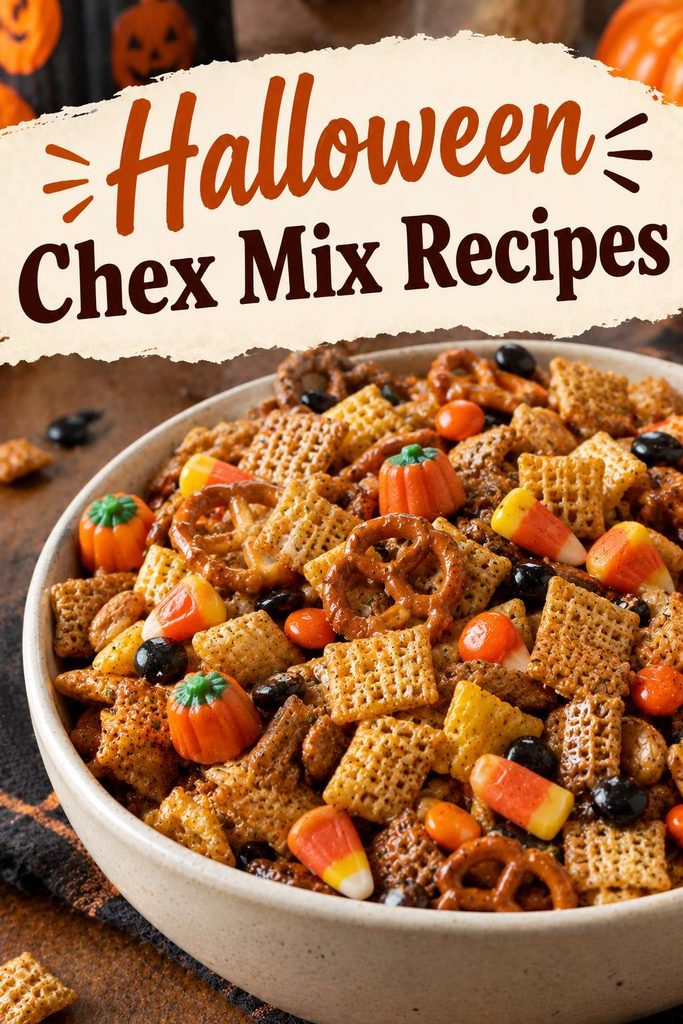
Halloween Chex Mix is a sweet-and-salty snack made with crunchy cereal, pretzels, chocolate candies, and festive sprinkles. This easy party mix combines crisp textures with colorful Halloween candy, making it perfect for snack bowls, movie nights, and party favor bags. A large rimmed baking sheet helps spread the cereal mixture into an even layer for baking.
This version uses a lightly sweetened cereal base with Halloween-colored candies added after baking. The result is crunchy, colorful, and easy to make in a big batch.
Prep time: 10 minutes
Cook time: 45 minutes
Servings: 10–12
Ingredients
- 4 cups Rice Chex cereal
- 4 cups Corn Chex cereal
- 2 cups mini pretzels
- 1 cup roasted peanuts, optional
- ½ cup unsalted butter, melted
- ¼ cup brown sugar
- 2 tablespoons maple syrup
- 1 teaspoon vanilla extract
- ½ teaspoon ground cinnamon
- 1½ cups Halloween-colored chocolate candies
- ½ cup candy corn
- ¼ cup Halloween sprinkles
Instructions
- Prepare the oven. Preheat the oven to 250°F (120°C). Line a large rimmed baking sheet with parchment paper.
- Combine the crunchy ingredients. Add the Rice Chex, Corn Chex, pretzels, and peanuts to a large mixing bowl. Toss gently to combine.
- Make the coating. In a separate bowl, whisk together the melted butter, brown sugar, maple syrup, vanilla extract, and cinnamon until smooth.
- Coat the cereal. Pour the butter mixture over the cereal mixture. Stir gently until the cereal and pretzels are lightly coated without crushing them.
- Bake until crisp. Spread the mixture evenly across the prepared baking sheet. Bake for about 45 minutes, stirring every 15 minutes to help it toast evenly.
- Cool completely. Remove the baking sheet from the oven and allow the mixture to cool completely. This step helps the snack become crisp.
- Add the Halloween candy. Stir in the chocolate candies, candy corn, and sprinkles once the cereal mixture has cooled. Adding the candy after baking prevents the chocolate from melting.
- Serve or package. Transfer the Halloween Chex Mix to a large serving bowl or divide it into small treat bags for party guests.
3. Halloween Cocktails Recipes
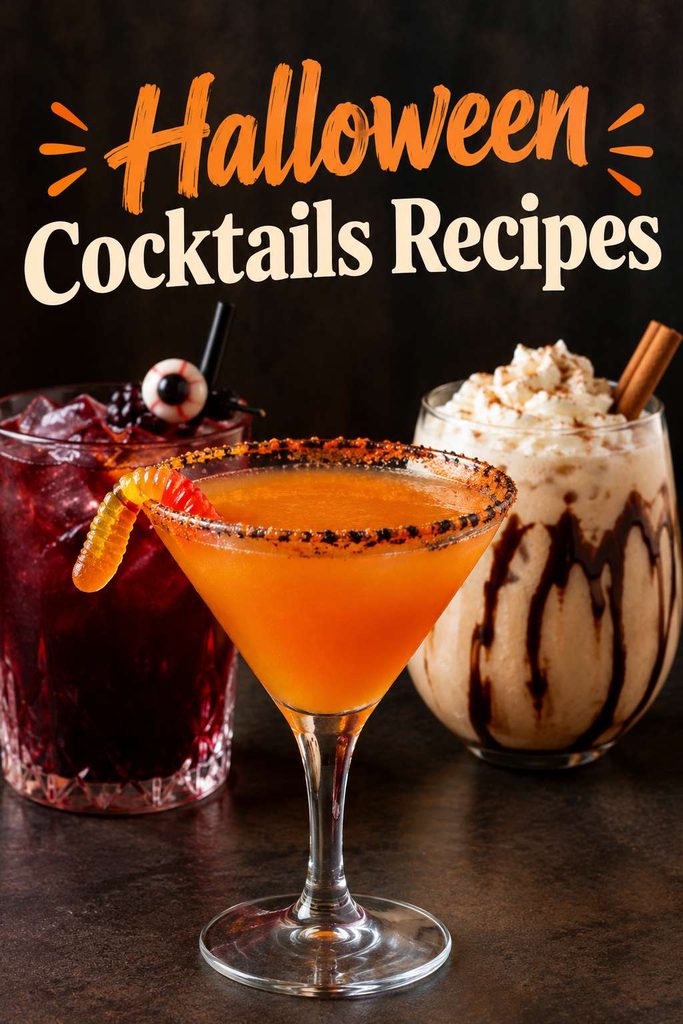
A spooky Halloween mocktail is a colorful, fizzy drink made with fruit juice, citrus, and sparkling water. This alcohol-free version brings the festive look of Halloween cocktails to the party table while remaining suitable for guests who prefer a nonalcoholic drink. A cocktail shaker set can help mix individual servings, although a simple jar with a secure lid works too.
The combination of cranberry juice, lime, and ginger ale creates a sweet-tart drink with a little sparkle. Serve it in clear glasses to show off its deep red color.
Prep time: 10 minutes
Servings: 4
Ingredients
- 2 cups cranberry juice, chilled
- 1 cup orange juice, chilled
- 2 tablespoons fresh lime juice
- 1½ cups ginger ale, chilled
- 1 cup ice cubes
- 4 lime slices, for serving
- Fresh cranberries, optional
Instructions
- Prepare the juice mixture. Pour the cranberry juice, orange juice, and fresh lime juice into a pitcher. Stir well to combine.
- Fill the glasses. Divide the ice among four glasses. Add a few fresh cranberries to each glass for a festive touch, when desired.
- Pour the juice. Divide the cranberry mixture evenly among the glasses, leaving room at the top for the ginger ale.
- Add the bubbles. Top each drink with chilled ginger ale and stir gently.
- Garnish and serve. Add a lime slice to each glass. Serve immediately while the drinks are cold and fizzy.
4. Halloween Dessert Recipes
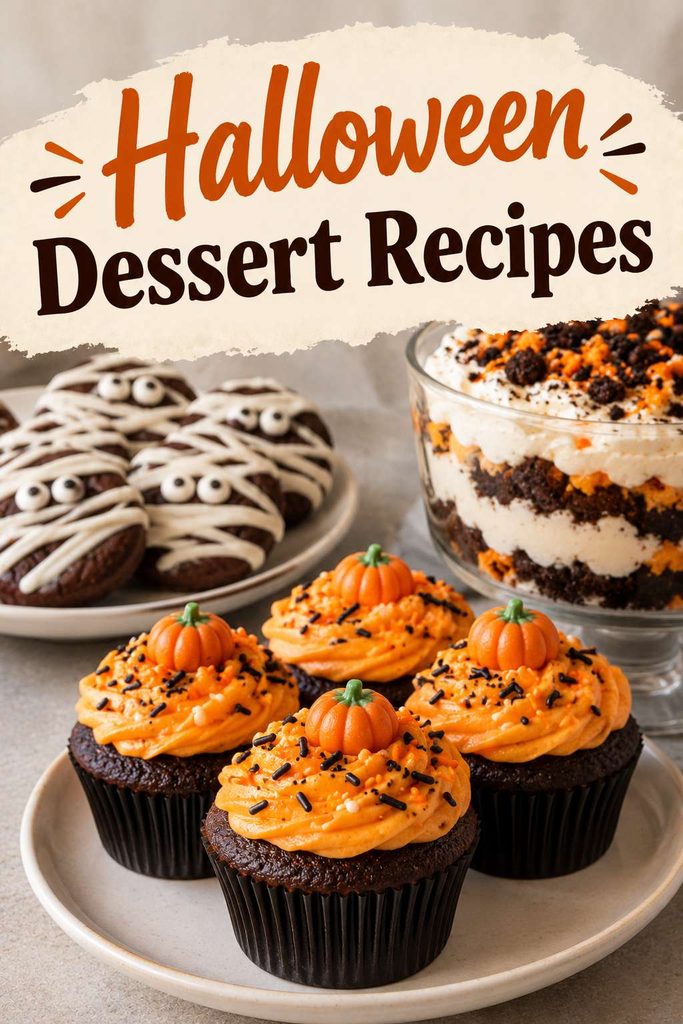
Graveyard pudding cups are easy Halloween desserts made with chocolate pudding, crushed chocolate cookies, and simple cookie decorations. The dark cookie crumbs resemble dirt, while decorated cookies create a playful little graveyard on top. A set of clear dessert cups is perfect for displaying the layers and preparing individual portions ahead of a party.
These no-bake Halloween treats are especially handy when the oven is already busy with other party food. You can assemble the cups in advance and let everyone enjoy their own little dessert.
Prep time: 20 minutes
Chilling time: 30 minutes
Servings: 6
Ingredients
- 2 packages (3.4 ounces each) instant chocolate pudding mix
- 4 cups cold milk, or the amount specified on the pudding package
- 2 cups chocolate sandwich cookies, crushed
- 1 cup whipped topping
- 6 rectangular chocolate cookies
- 2 tablespoons melted white chocolate, for decorating
- ¼ cup gummy worms, optional
Instructions
- Prepare the pudding. Whisk the chocolate pudding mix with the cold milk according to the package directions. Refrigerate until it thickens.
- Crush the cookies. Place the chocolate sandwich cookies in a sealed bag and crush them into small crumbs with a rolling pin. A few larger pieces are fine for texture.
- Add the first layer. Spoon a layer of chocolate pudding into the bottom of each dessert cup.
- Add cookie crumbs. Sprinkle a layer of crushed cookies over the pudding. Repeat the pudding and cookie layers until the cups are nearly full, finishing with cookie crumbs.
- Make the gravestones. Use melted white chocolate to write small letters or simple designs on the rectangular chocolate cookies. Let the decoration set before adding them to the cups.
- Decorate the desserts. Press one decorated cookie into the top of each cup to resemble a gravestone. Add a small gummy worm or a spoonful of whipped topping when desired.
- Chill before serving. Refrigerate the cups for at least 30 minutes so the pudding stays cold and the layers settle.
5. Caramel Apple Dip Recipe
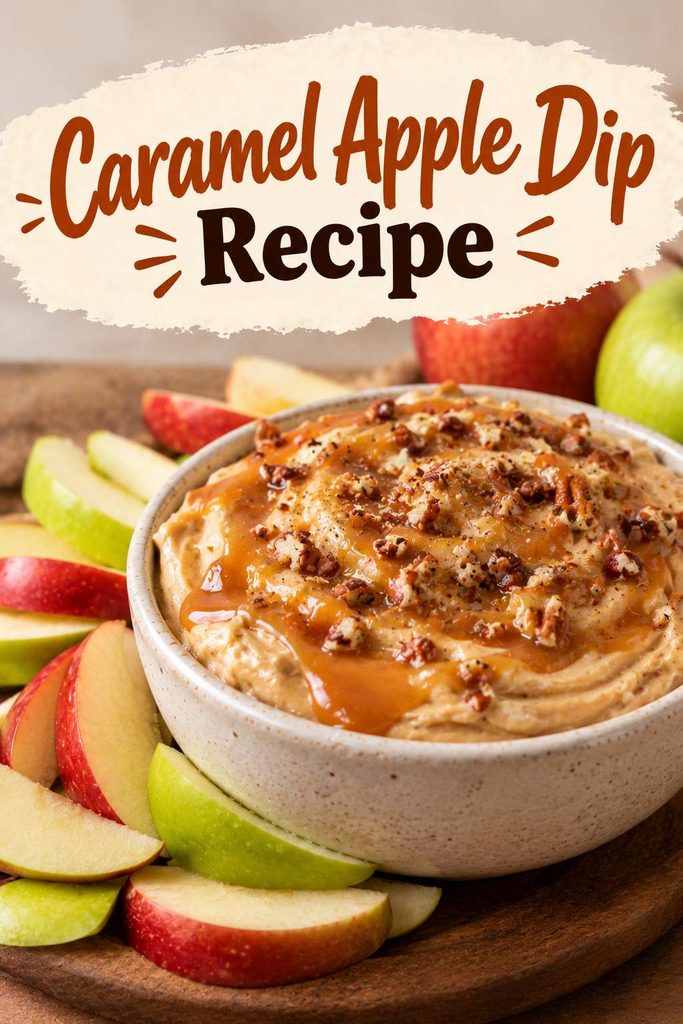
Caramel apple dip is a creamy, sweet party treat served with crisp apple slices for dipping. This easy version combines cream cheese, brown sugar, vanilla, and caramel sauce for a smooth dip that tastes like a caramel apple without the mess of coating whole apples. A hand mixer makes it easy to beat the cream cheese until smooth and fluffy.
This recipe works well for Halloween parties, autumn gatherings, and snack boards. Serve it in a shallow bowl surrounded by apple wedges, pretzels, and graham crackers for a simple dessert everyone can share.
Prep time: 10 minutes
Chilling time: 20 minutes
Servings: 8
Ingredients
- 8 ounces cream cheese, softened
- ½ cup packed brown sugar
- 1 teaspoon vanilla extract
- ½ cup caramel sauce, divided
- ¼ cup toffee bits, optional
- 4 crisp apples, such as Granny Smith or Honeycrisp
- 1 tablespoon lemon juice
- 1 tablespoon water
Instructions
- Soften the cream cheese. Let the cream cheese sit at room temperature until soft enough to mix easily.
- Beat the base. Place the cream cheese, brown sugar, and vanilla in a mixing bowl. Beat with a hand mixer until smooth and creamy, scraping down the sides as needed.
- Add the caramel. Mix in ¼ cup of caramel sauce until combined. Transfer the dip to a serving bowl and smooth the top.
- Add the topping. Drizzle the remaining caramel sauce over the dip. Sprinkle with toffee bits for extra crunch, when desired.
- Prepare the apples. Wash and slice the apples into wedges. Toss them gently with the lemon juice and water to help slow browning.
- Arrange the platter. Place the apple wedges around the dip. Add pretzels or graham crackers for extra dipping options.
- Chill and serve. Refrigerate the dip for about 20 minutes before serving, or serve immediately when you’re short on time.
6. Halloween Cookie Recipes
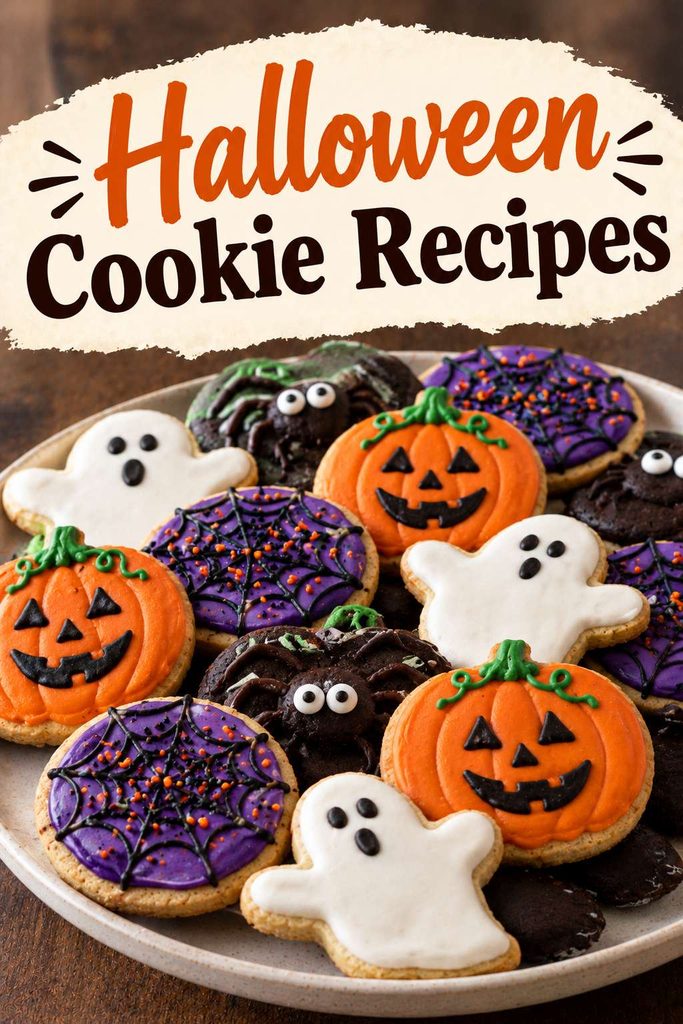
Halloween sugar cookies are buttery, tender cookies that can be cut into pumpkins, ghosts, bats, and other spooky shapes. This easy recipe creates a soft-centered cookie with lightly crisp edges, making it a great base for colorful icing and sprinkles. A Halloween cookie cutter set makes it simple to create festive shapes without complicated decorating techniques.
These cookies are a fun choice for Halloween baking with family or preparing homemade treats for a party. Decorate them with orange, purple, green, and white icing, or keep a few plain for anyone who prefers a simple sugar cookie.
Prep time: 20 minutes
Chilling time: 30 minutes
Cook time: 8–10 minutes per batch
Servings: About 24 cookies
Ingredients
For the cookies
- 2¾ cups all-purpose flour
- 1 teaspoon baking powder
- ½ teaspoon salt
- 1 cup unsalted butter, softened
- 1 cup granulated sugar
- 1 large egg
- 2 teaspoons vanilla extract
- 1 tablespoon milk, as needed
For decorating
- 1 cup powdered sugar
- 1–2 tablespoons milk
- ½ teaspoon vanilla extract
- Food coloring in Halloween colors
- Halloween sprinkles, optional
Instructions
- Mix the dry ingredients. In a medium bowl, whisk together the flour, baking powder, and salt. Set aside.
- Cream the butter and sugar. In a large mixing bowl, beat the softened butter and granulated sugar until light and fluffy, about 2–3 minutes.
- Add the egg and vanilla. Beat in the egg and vanilla extract until fully combined.
- Make the dough. Add the dry ingredients gradually, mixing on low speed until a soft dough forms. Add the tablespoon of milk when the dough seems too dry to come together.
- Chill the dough. Divide the dough into two portions, flatten each into a disc, wrap, and refrigerate for about 30 minutes. Chilling makes the dough easier to roll and helps the cookies hold their shapes.
- Roll and cut. Preheat the oven to 350°F (175°C). Line baking sheets with parchment paper. Roll the dough on a lightly floured surface to about ¼ inch thick, then cut into Halloween shapes.
- Bake the cookies. Arrange the shapes on the baking sheets with a little space between them. Bake for 8–10 minutes, until the edges are set but not deeply browned.
- Cool completely. Let the cookies rest on the baking sheet for 5 minutes, then transfer them to a wire rack to cool completely.
- Prepare the icing. Whisk together the powdered sugar, milk, and vanilla until smooth. Divide the icing into small bowls and tint with food coloring.
- Decorate and serve. Spread or pipe the icing onto the cooled cookies. Add sprinkles while the icing is still wet, then let the decorations set before serving or storing.
7. Halloween Recipes
Mummy pizzas are small, savory Halloween snacks made with English muffins, pizza sauce, mozzarella cheese, and olive pieces for eyes. Strips of cheese create the look of mummy bandages, turning a familiar pizza snack into a fun party food. A rimmed baking sheet keeps the mini pizzas stable while the cheese melts.
These little pizzas are easy to assemble and work well for kids’ Halloween parties, casual dinners, or a spooky movie night. Guests can even add their own toppings before the pizzas go into the oven.
Prep time: 10 minutes
Cook time: 10–12 minutes
Servings: 8 mini pizzas
Ingredients
- 4 English muffins, split in half
- ½ cup pizza sauce
- 1½ cups shredded mozzarella cheese
- 8 black olive slices, cut into small pieces for the eyes
- ½ teaspoon Italian seasoning, optional
- ¼ teaspoon garlic powder, optional
Instructions
- Preheat the oven. Heat the oven to 400°F (200°C). Line a baking sheet with parchment paper.
- Prepare the muffin bases. Arrange the English muffin halves cut-side up on the baking sheet.
- Add the sauce. Spread a thin layer of pizza sauce over each muffin half, leaving a small border around the edges.
- Add the seasoning. Sprinkle lightly with Italian seasoning and garlic powder, when desired.
- Create the mummy bandages. Arrange thin strips of mozzarella across each muffin in slightly overlapping rows. Leave a small opening near the top for the eyes.
- Add the eyes. Place two small pieces of black olive on each pizza, positioning them in the uncovered space.
- Bake until melted. Bake for 10–12 minutes, until the cheese melts and the muffin edges become lightly crisp.
- Cool slightly and serve. Let the mini pizzas rest for a couple of minutes before transferring them to a serving platter.
8. Halloween Food Recipes
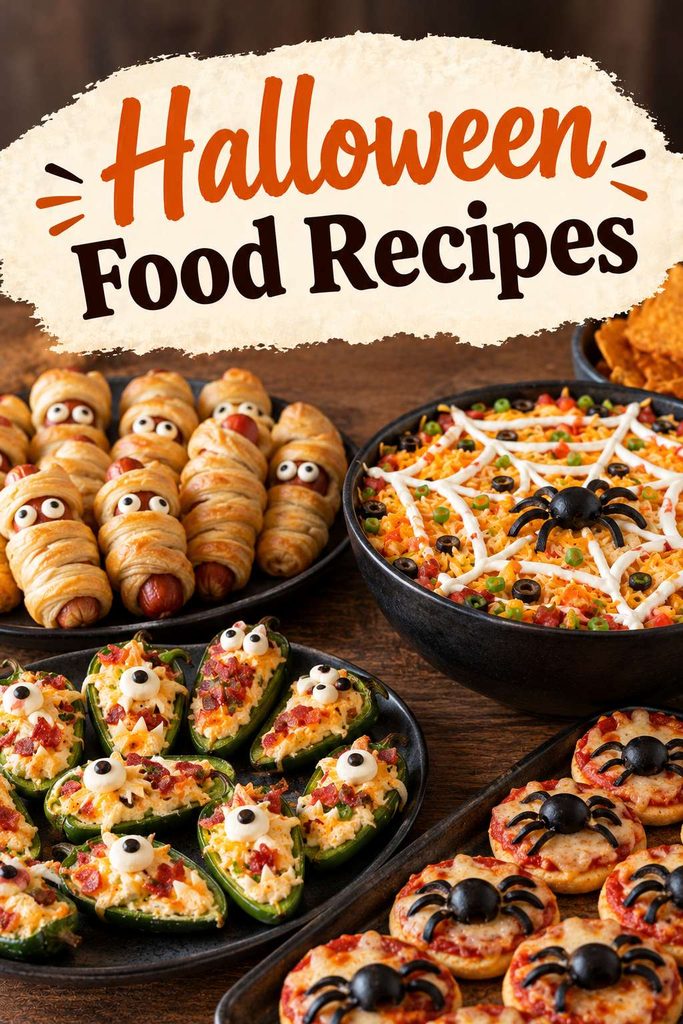
Halloween monster nachos are a shareable party snack made with crunchy tortilla chips, melted cheese, seasoned black beans, and colorful toppings. Simple olive slices and small dollops of sour cream can create playful monster faces, making this an easy savory option for a Halloween buffet. A large oven-safe baking dish helps you layer the chips and cheese for even melting.
This recipe is flexible, so you can adjust the toppings to suit your guests. Serve it as a warm snack before trick-or-treating or place it in the middle of the table for a casual Halloween movie night.
Prep time: 15 minutes
Cook time: 10 minutes
Servings: 6
Ingredients
- 1 large bag (about 12 ounces) tortilla chips
- 2 cups shredded cheddar or Mexican-style cheese
- 1 can (15 ounces) black beans, drained and rinsed
- 1 small tomato, diced
- ½ cup sliced black olives
- ½ cup sour cream
- 2 green onions, thinly sliced
- ½ teaspoon ground cumin
- ½ teaspoon paprika
- ¼ teaspoon garlic powder
- Fresh cilantro, optional
- Salsa or guacamole, for serving
Instructions
- Preheat the oven. Heat the oven to 375°F (190°C). Line a large oven-safe baking dish or rimmed baking sheet with parchment paper.
- Season the beans. Place the black beans in a small bowl and mix with the cumin, paprika, and garlic powder.
- Layer the chips. Spread half of the tortilla chips across the baking dish. Sprinkle with half of the cheese and half of the seasoned beans. Add another layer of chips, then finish with the remaining cheese and beans.
- Bake the nachos. Bake for about 8–10 minutes, until the cheese has melted and the chips are heated through.
- Add the fresh toppings. Remove the nachos from the oven. Sprinkle with diced tomato, sliced olives, and green onions.
- Create monster faces. Add small dollops of sour cream and arrange olive slices around them to make playful eyes. Keep the decorations simple so the chips remain easy to eat.
- Serve immediately. Add cilantro when desired and serve with salsa or guacamole on the side.
Final Thoughts
These 8 fun Halloween recipes make it easy to put together a party menu filled with spooky drinks, crunchy snacks, cute desserts, and savory bites. Halloween punch and Chex Mix are great for feeding a crowd, while graveyard pudding cups and sugar cookies add a playful touch to the dessert table. Caramel apple dip brings a classic fall flavor, and mummy pizzas and monster nachos make sure there are plenty of savory options, too.
Pick a few favorites based on your plans, prepare what you can ahead of time, and keep the serving table simple and colorful. With a little preparation, you can create a Halloween spread that feels festive without spending the entire day in the kitchen.
The best Halloween party recipes include colorful punch, sweet-and-salty Chex Mix, themed cookies, pudding cup desserts, caramel apple dip, and easy savory snacks such as mummy pizzas and nachos. A combination of sweet treats, finger foods, and drinks gives guests plenty of choices.
Halloween Chex Mix, sugar cookies, and the juice base for Halloween punch can be prepared ahead of time. Graveyard pudding cups and caramel apple dip can also be made in advance and refrigerated. Add fizzy drinks, fresh apple slices, and final toppings closer to serving time for the best texture and appearance.
Easy Halloween treats include decorated sugar cookies, graveyard pudding cups, caramel apple dip, Halloween Chex Mix, and mummy pizzas. Halloween punch and nonalcoholic mocktails are festive drink options for guests of all ages. These recipes use familiar ingredients and simple decorating techniques, so they work well for family parties and casual Halloween gatherings.